This Blueberry-Lime Iced Tea rocks! I was inspired to make this by Taylor Takes a Taste's Blue Green Iced Tea, but I of course had to change it up to create my own version.
But before we get into how to make this delicious tea, I have an exciting announcement! (Exciting to me anyway.) I got a NEW CAMERA! Yes, I have joined the world of digital SLR photography. This is my first post featuring photos taken with the new camera. And, boy, do I have a lot to learn! I fumbled through my first photo shoot, fumbled being the key word, and realized that, wow, I've got a lot of work to do to truly learn what I'm doing. I appreciate your patience while I learn and improve!
So, since I was playing with different camera settings to see what they would do, I did both an indoor and an outdoor shoot with the iced tea. Here are some things I very quickly learned during my outdoor shoot:
1. Ice melts very fast in the balmy 95 degree southern summer heat.
2. This 95-degree-ice-melting rapidly creates unsightly sweat beads on one's subject, when one's subject happens to be a nice, refreshing, cold iced tea glass and pitcher (exhibit A above ... see around the bottom of the glass??).
3. I should really put my hair in a ponytail. Hair really ruins a good shot when the breeze picks up juuussst as you snap your picture!
4. Outdoor critters are quickly attracted to cut citrus fruit.
5. And, probably most importantly, I really should be sure to wear some form of footwear for my outdoor shoots. Deck boards that have been basking in the blazing sun all day are really much hotter than you would think.
But that's enough about my new camera for now. Let's move on to the rockin' Blueberry-Lime Iced Tea!
First, steep some tea bags - just like you would to make regular sweet (or unsweet, for that matter) tea.
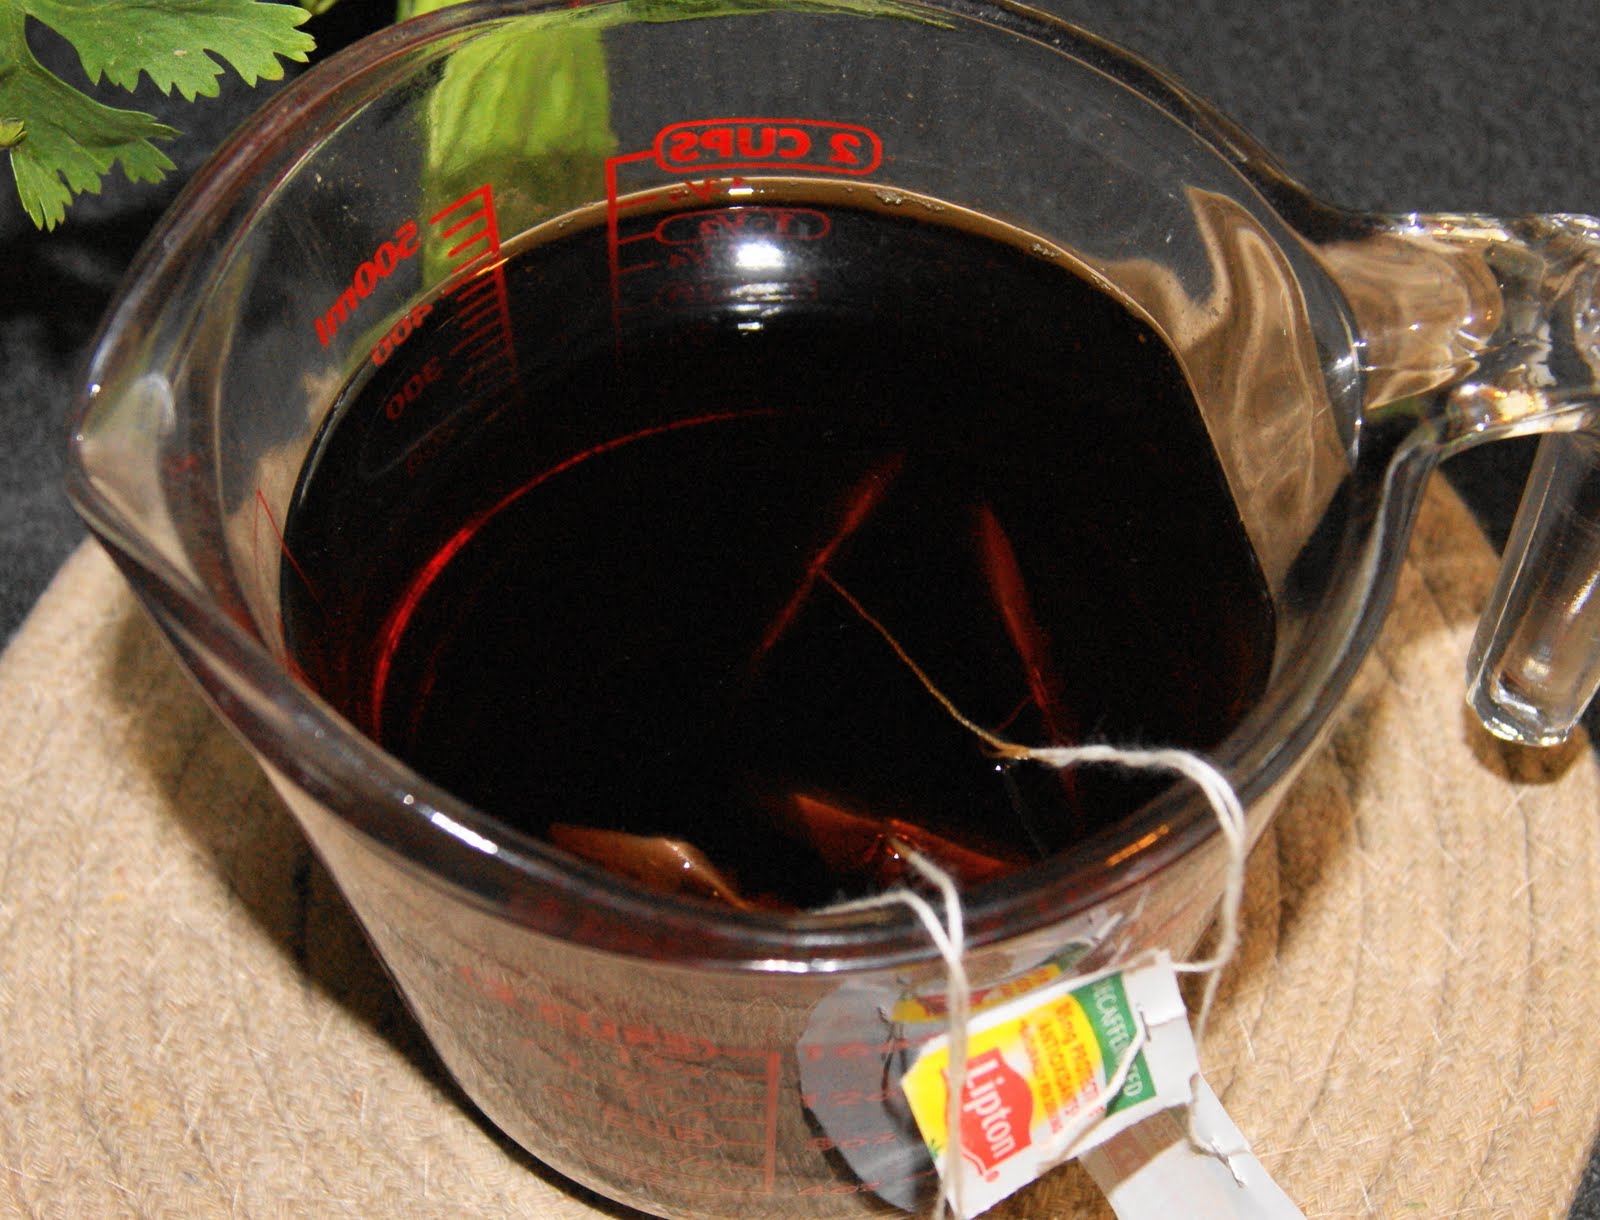 |
| Tea ... it is a-brewin' |
Then, make a blueberry simple syrup - that's just blueberries, sugar, and water simmered together. Simple, huh? (I just made a pun! Are you laughing? At least smiling just a tiny bit??) Put your berries, sugar, and water together in a saucepan ...
 |
| Makings for your simple syrup - it's simple! |
... bring them to a boil, reduce the heat, and simmer them for just a minute or two.
 |
| Simmering |
Next, you'll strain the blueberry syrup, squish all the juice out of the berries, and then squeeze in the juice of 1/2 a lime.
Combine the brewed tea, blueberry simple syrup, some water, and some ice. Now you've got refreshing and tasty Blueberry-Lime Iced Tea! I'm thinking this method would work with lots of fruits. Hmmmmm, think I'm going to have to try blackberry. What about peach?? I bet peach would be good! Got other ideas? Shout 'em out in a comment ... I'd love to hear them!
 |
| Ahhhhh ... blueberry refreshment |
Blueberry-Lime Iced Tea
Source: Inspired by Taylor Takes a Taste's Blue Green Iced Tea
Ingredients
Tea:
4 tea bags (regular or decaf black tea)
2 c. boiling water
Blueberry simple syrup:
1 c. blueberries (fresh or frozen, preferably fresh)
3/4 c. sugar
1 c. water
Juice of 1/2 a lime
Directions
To brew the tea:
1. Pour two cups of boiling water over the 4 tea bags; let steep until cooled. Squeeze out tea bags.
To make the blueberry simple syrup:
2. Place blueberries, sugar, and the one cup water in a small saucepan over medium-high heat. Bring to a boil; reduce heat and simmer for about a minute. Remove from heat and let cool.
3. Once cooled a bit, strain the syrup to remove the blueberries. Mash the blueberries against the side of the strainer to release all of their juice, letting this juice strain into your simple syrup. Squeeze in the juice of 1/2 a lime; stir to combine.
4. Combine the brewed tea and blueberry simple syrup in a 2-quart pitcher. Fill the remainder of the pitcher with cold water to make 2 quarts.
5. Serve over ice with a lime wedge.
UPDATE NOTE: Please be sure you're using a 2-quart pitcher. My mom made this over 4th of July weekend, and thought it was terribly weak, like just sugar-water. Come to find out ... her pitcher was a gallon pitcher! If you'd like to make a gallon, double the tea and blueberry simple syrup.
Enjoy!
This post is linked with Star Recipes hosted by The Saturday Evening Pot, Friday Sweet Tooth hosted by Alli-n-son, Yummy Fridays hosted by Yummy Mummy, These Chicks Cooked hosted by This Chick Cooks, Foodie Friday: Summer Foods hosted by Designs by Gollum, and This Week's Cravings hosted by Delightful Country Cookin', A Themed Bakers' Sunday hosted by Cupcake Apothecary, This Week's Cravings hosted by Mom's Crazy Cooking.
This Blueberry-Lime Iced Tea rocks! I was inspired to make this by Taylor Takes a Taste's Blue Green Iced Tea, but I of course had to change it up to create my own version.
But before we get into how to make this delicious tea, I have an exciting announcement! (Exciting to me anyway.) I got a NEW CAMERA! Yes, I have joined the world of digital SLR photography. This is my first post featuring photos taken with the new camera. And, boy, do I have a lot to learn! I fumbled through my first photo shoot, fumbled being the key word, and realized that, wow, I've got a lot of work to do to truly learn what I'm doing. I appreciate your patience while I learn and improve!
So, since I was playing with different camera settings to see what they would do, I did both an indoor and an outdoor shoot with the iced tea. Here are some things I very quickly learned during my outdoor shoot:
1. Ice melts very fast in the balmy 95 degree southern summer heat.
2. This 95-degree-ice-melting rapidly creates unsightly sweat beads on one's subject, when one's subject happens to be a nice, refreshing, cold iced tea glass and pitcher (exhibit A above ... see around the bottom of the glass??).
3. I should really put my hair in a ponytail. Hair really ruins a good shot when the breeze picks up juuussst as you snap your picture!
4. Outdoor critters are quickly attracted to cut citrus fruit.
5. And, probably most importantly, I really should be sure to wear some form of footwear for my outdoor shoots. Deck boards that have been basking in the blazing sun all day are really much hotter than you would think.
But that's enough about my new camera for now. Let's move on to the rockin' Blueberry-Lime Iced Tea!
First, steep some tea bags - just like you would to make regular sweet (or unsweet, for that matter) tea.
|
| Tea ... it is a-brewin' |
Then, make a blueberry simple syrup - that's just blueberries, sugar, and water simmered together. Simple, huh? (I just made a pun! Are you laughing? At least smiling just a tiny bit??) Put your berries, sugar, and water together in a saucepan ...
|
| Makings for your simple syrup - it's simple! |
... bring them to a boil, reduce the heat, and simmer them for just a minute or two.
|
| Simmering |
Next, you'll strain the blueberry syrup, squish all the juice out of the berries, and then squeeze in the juice of 1/2 a lime.
Combine the brewed tea, blueberry simple syrup, some water, and some ice. Now you've got refreshing and tasty Blueberry-Lime Iced Tea! I'm thinking this method would work with lots of fruits. Hmmmmm, think I'm going to have to try blackberry. What about peach?? I bet peach would be good! Got other ideas? Shout 'em out in a comment ... I'd love to hear them!
|
| Ahhhhh ... blueberry refreshment |
Blueberry-Lime Iced Tea
Source: Inspired by Taylor Takes a Taste's Blue Green Iced Tea
Ingredients
Tea:
4 tea bags (regular or decaf black tea)
2 c. boiling water
Blueberry simple syrup:
1 c. blueberries (fresh or frozen, preferably fresh)
3/4 c. sugar
1 c. water
Juice of 1/2 a lime
Directions
To brew the tea:
1. Pour two cups of boiling water over the 4 tea bags; let steep until cooled. Squeeze out tea bags.
To make the blueberry simple syrup:
2. Place blueberries, sugar, and the one cup water in a small saucepan over medium-high heat. Bring to a boil; reduce heat and simmer for about a minute. Remove from heat and let cool.
3. Once cooled a bit, strain the syrup to remove the blueberries. Mash the blueberries against the side of the strainer to release all of their juice, letting this juice strain into your simple syrup. Squeeze in the juice of 1/2 a lime; stir to combine.
4. Combine the brewed tea and blueberry simple syrup in a 2-quart pitcher. Fill the remainder of the pitcher with cold water to make 2 quarts.
5. Serve over ice with a lime wedge.
UPDATE NOTE: Please be sure you're using a 2-quart pitcher. My mom made this over 4th of July weekend, and thought it was terribly weak, like just sugar-water. Come to find out ... her pitcher was a gallon pitcher! If you'd like to make a gallon, double the tea and blueberry simple syrup.
Enjoy!
This post is linked with Star Recipes hosted by The Saturday Evening Pot, Friday Sweet Tooth hosted by Alli-n-son, Yummy Fridays hosted by Yummy Mummy, These Chicks Cooked hosted by This Chick Cooks, Foodie Friday: Summer Foods hosted by Designs by Gollum, and This Week's Cravings hosted by Delightful Country Cookin', A Themed Bakers' Sunday hosted by Cupcake Apothecary, This Week's Cravings hosted by Mom's Crazy Cooking.