
Yes, it's one more Christmas recipe that I never got around to posting. But hey, we haven't gotten to February yet, so I'm doing good.
Last week was a doozy for my family - we had a vicious round of a stomach virus, of which I'll spare you most of the gory details, but here are a few take-aways from the week.
* I never knew that a 4-year old could vomit 18 times in a nine hour period. (granted,
half of those were dry heaves, but we all know how painful that can be)
* I never knew I could be so completely dehydrated and still be able to nurse my 3-1/2 month old.
Thanks to God for making that happen. She never once went hungry.
* Our boy (8) only had a mild stomach ache for a day and the baby didn't get sick at all.
The rest of us had varying degrees of miserableness.
* We lived to tell about it. Amen.
On to the Fudge.
I'm a fudge-kind-of girl - I like all kinds of flavors, with and without nuts, pretty much if
it's fudge, I like it.
Back in 2006, I got this recipe from a friend after she made it for a Christmas party and I fell in love with it.
It's super smooth, soft, creamy, melt-in-your mouth, minty chocolate goodness.
And it's very easy to make.
Doesn't photograph very well, but that's probably just me.
I had a real hard time keeping out of the container of this one. Definitely part of the reason I
didn't lose any baby weight over the holidays.
Recipe: (from a friend)
Yield: approximately 4 lbs
1-1/2 cups sugar
1/2 cup butter
1 (5 fluid oz) can evaporated milk (about 2/3 cup)
1 (7 oz) jar marshmallow creme
1 package (10 oz) Andes Baking Chips
1/2 tsp. vanilla extract
Lightly grease a foil lined 9x9x2" pan; set aside.
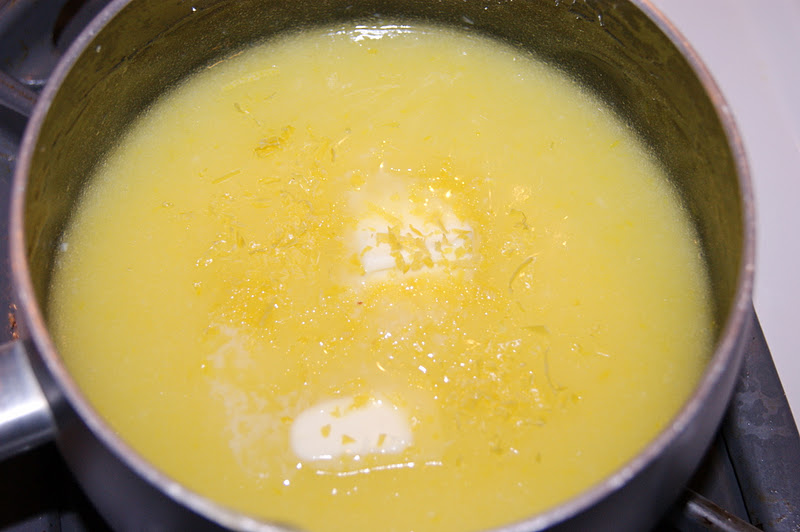
Heat sugar, butter, milk, and marshmallow creme in heavy 3-quart saucepan over medium heat until mixture boils, stirring constantly. Boil and stir for 5 minutes. Remove from heat.
Add Andes baking chips and vanilla extract, stirring until chips are melted.
Immediately spread into prepared pan. Refrigerate overnight. Cut into 1 inch squares. Store in airtight container in refrigerator. For creamier fudge, let stand at room temperature 1 hour before serving.
Yes, it's one more Christmas recipe that I never got around to posting. But hey, we haven't gotten to February yet, so I'm doing good.
Last week was a doozy for my family - we had a vicious round of a stomach virus, of which I'll spare you most of the gory details, but here are a few take-aways from the week.
* I never knew that a 4-year old could vomit 18 times in a nine hour period. (granted,
half of those were dry heaves, but we all know how painful that can be)
* I never knew I could be so completely dehydrated and still be able to nurse my 3-1/2 month old.
Thanks to God for making that happen. She never once went hungry.
* Our boy (8) only had a mild stomach ache for a day and the baby didn't get sick at all.
The rest of us had varying degrees of miserableness.
* We lived to tell about it. Amen.
On to the Fudge.
I'm a fudge-kind-of girl - I like all kinds of flavors, with and without nuts, pretty much if
it's fudge, I like it.
Back in 2006, I got this recipe from a friend after she made it for a Christmas party and I fell in love with it.
It's super smooth, soft, creamy, melt-in-your mouth, minty chocolate goodness.
And it's very easy to make.
Doesn't photograph very well, but that's probably just me.
I had a real hard time keeping out of the container of this one. Definitely part of the reason I
didn't lose any baby weight over the holidays.
Recipe: (from a friend)
Yield: approximately 4 lbs
1-1/2 cups sugar
1/2 cup butter
1 (5 fluid oz) can evaporated milk (about 2/3 cup)
1 (7 oz) jar marshmallow creme
1 package (10 oz) Andes Baking Chips
1/2 tsp. vanilla extract
Lightly grease a foil lined 9x9x2" pan; set aside.
Heat sugar, butter, milk, and marshmallow creme in heavy 3-quart saucepan over medium heat until mixture boils, stirring constantly. Boil and stir for 5 minutes. Remove from heat.
Add Andes baking chips and vanilla extract, stirring until chips are melted.
Immediately spread into prepared pan. Refrigerate overnight. Cut into 1 inch squares. Store in airtight container in refrigerator. For creamier fudge, let stand at room temperature 1 hour before serving.


